Delicious, Engineered

Engineer by Trade. Chef by Passion.

  • About
  • Recipes
  • Travel
  • Contact
568C4712-A7A0-47F2-B3FE-DC17EAE62F75.JPG

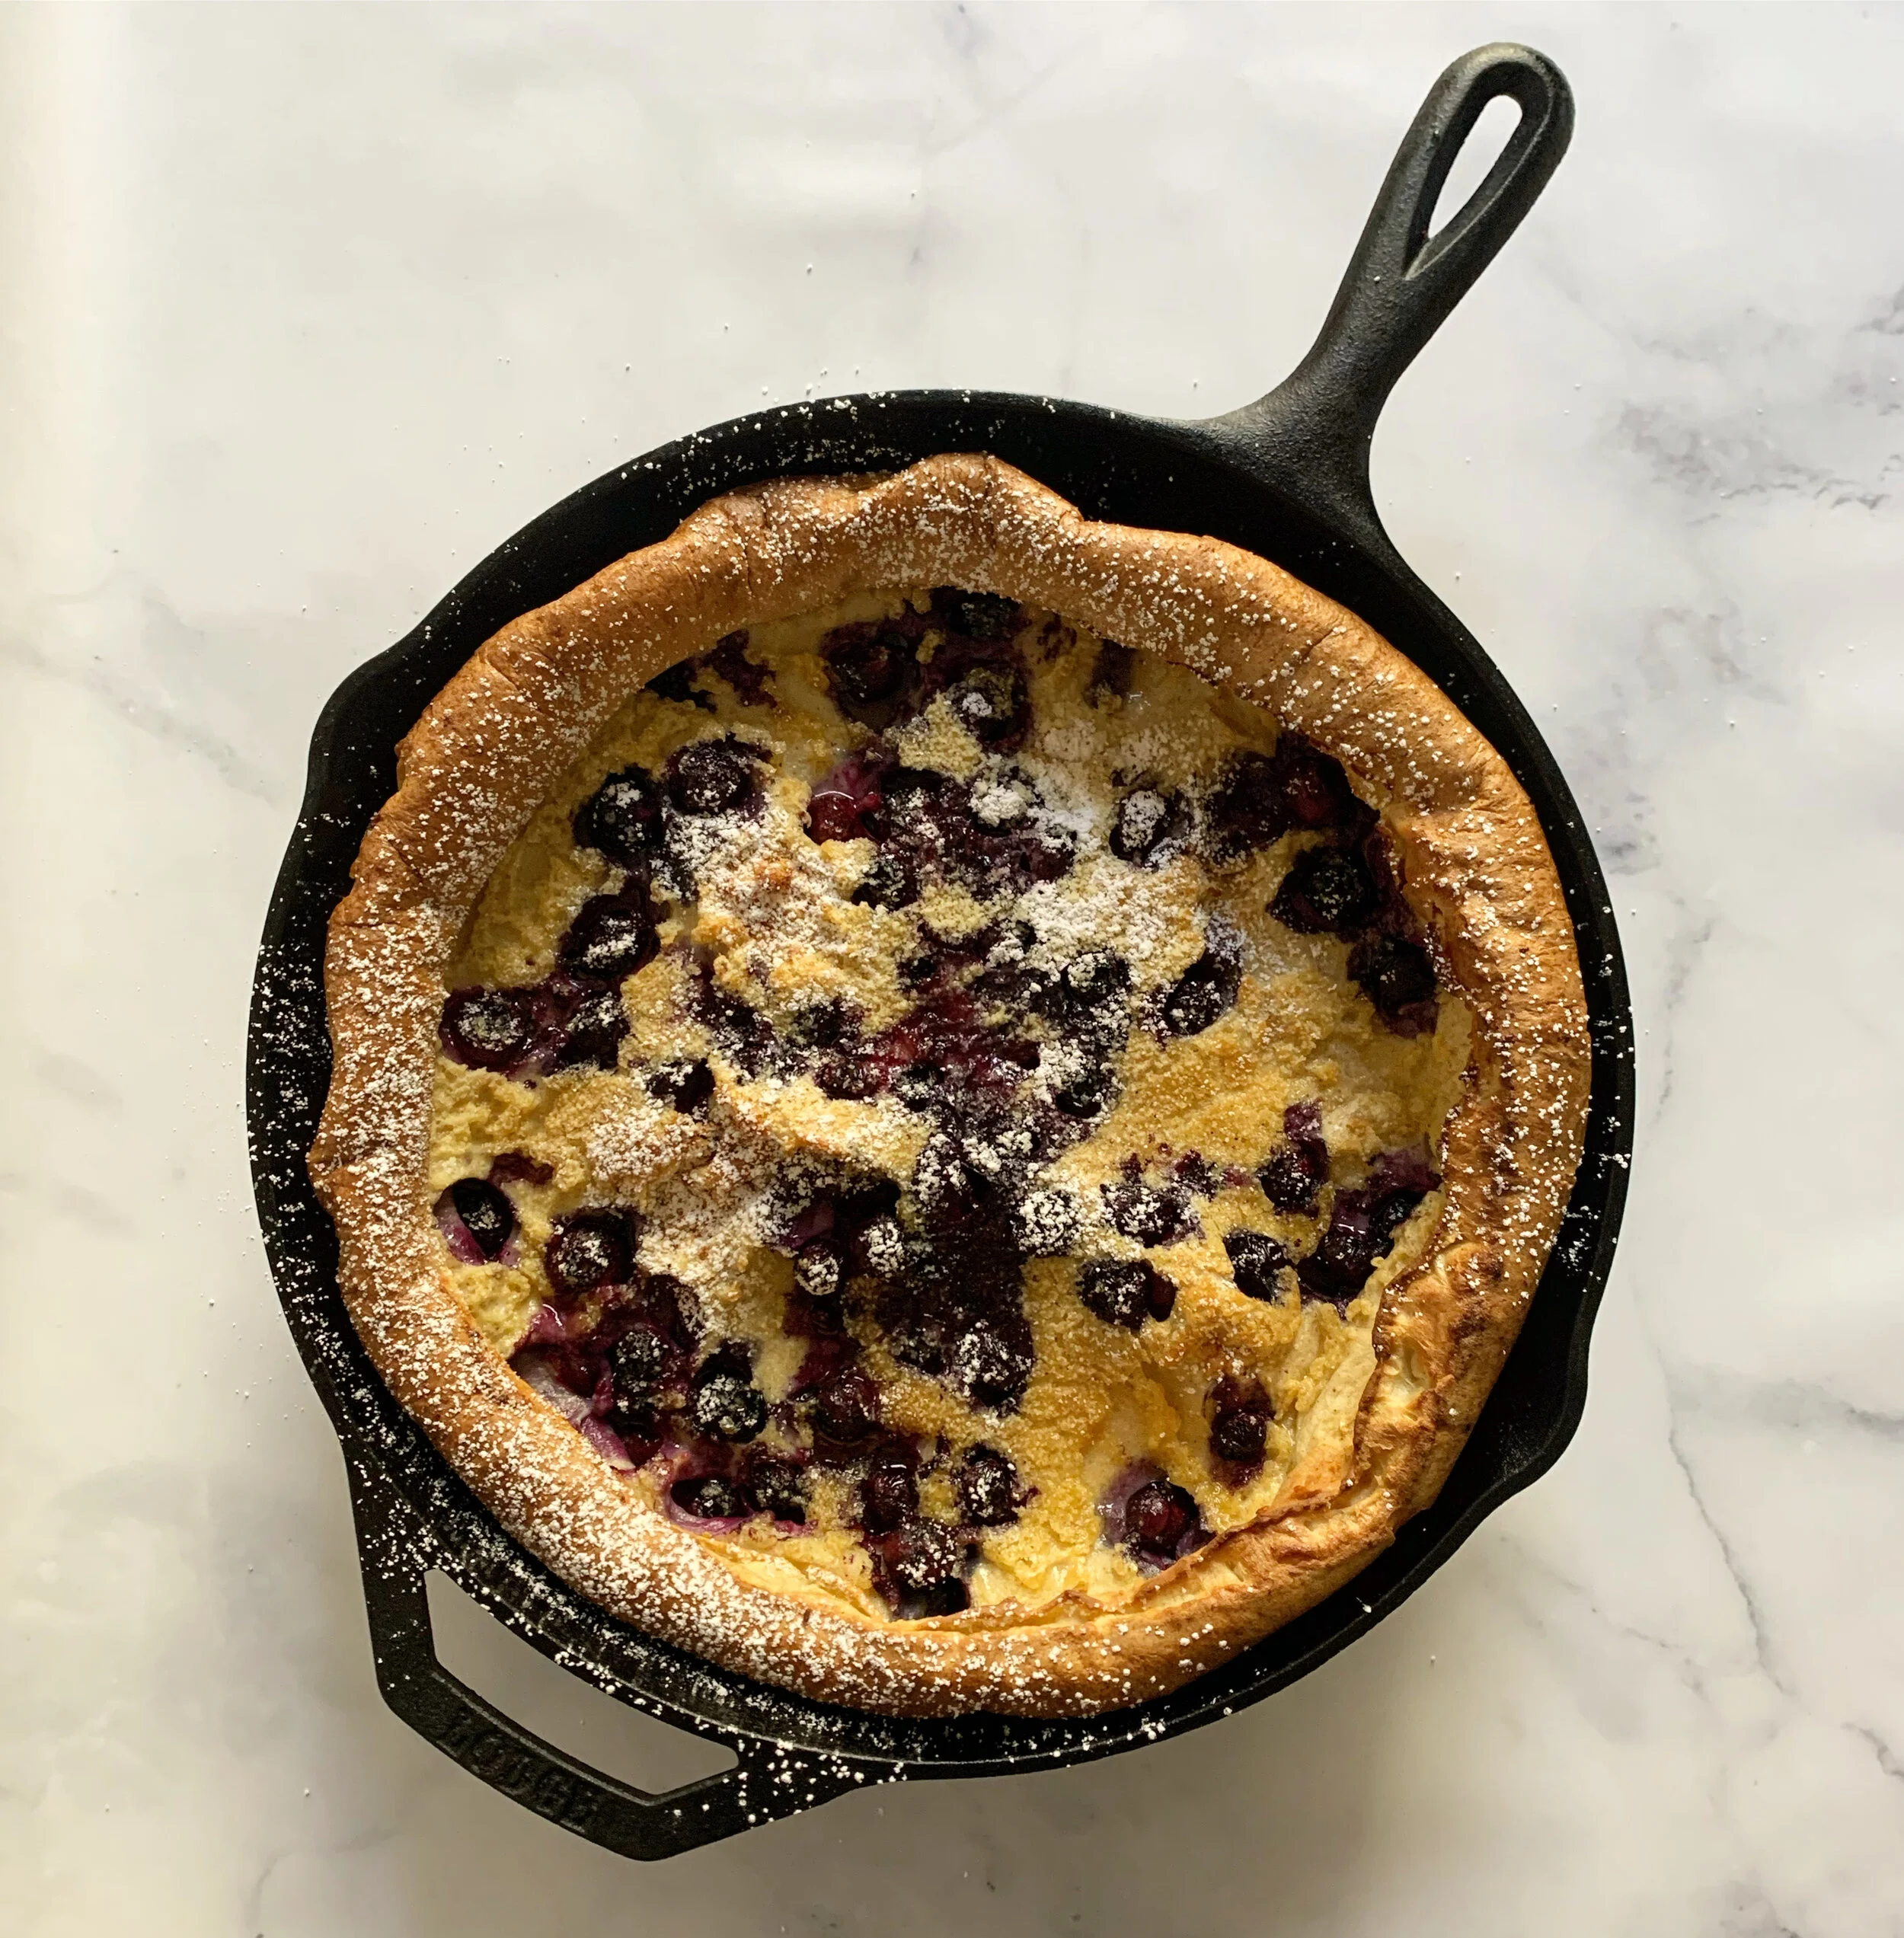
Blueberry Dutch Baby

July 28, 2020 by Errynne Bell in Breakfast

Prep Time: 10 min

Cooking Time: 25 min

Serving Size: 4 to 6 portions

If you have never had a Dutch Baby, now is the time! It’s a wonderfully silky smooth and rich eggy pancake. It can be savory or sweet, as this one is. I love it at home on a relaxing Sunday morning.

The Dutch Baby travels really well. It can be made in the morning and taken to a family member or friend’s house for brunch.

I encourage you to experiment with toppings and find what you love!

The Volume

I used a 12” cast iron skillet for this recipe and the quantities reflect that. If you want to halve the recipe, use a smaller skillet. I should also note that a 6” skillet does not imply it’s ½ the volume of a 12” skillet, this assumption will not turn out well. I have provided a bit of a cheat sheet for you below if you choose to use a different size skillet.

12” Skillet – use the recipe quantities as prescribed

10.25” Skillet – use 3/4 of the recipe quantities

8” or 9” Skillet – use half of the recipe quantities

6.5” Skillet – use about 1/3 of the recipe quantities

The Sweet Version

This recipe uses blueberries, but you could use nearly any berry. Try some baked apples, such as you’d use for pie filling. Try chocolate chips or Nutella. What about lemon curd for a tart, yet sweet surprise? Drizzle maple syrup as well as powdered sugar over the top, if you choose. Anything goes!

The Sweet Version

Serve the Dutch Baby as a savory brunch dish or for dinner. Caramelized onions and bacon anyone? What about butternut squash and goat cheese? Ham and cheese? With this baseline recipe, you really can’t screw this one up.

Special Equipment

12” Cast Iron Skillet

Ingredients

  • 6 Eggs (room temperature)

  • 1 Cup Flour

  • 1 Cup Milk (room temperature, I use 2% but you could use whole milk if you want it to be richer)

  • 1 Tbsp Sugar

  • Pinch of Freshly Grated Nutmeg (consider excluding for savory version)

  • Pinch of Cinnamon (exclude for savory version)

  • 5 Tbsp Butter

  • 1 Cup Blueberries

  • Syrup, Powdered Sugar, or Other Toppings

How To

  1. Put the cast iron skillet in the oven and preheat both the oven and the skillet to 425 degrees.

  2. While the oven preheats, combine all of the ingredients together until smooth. Whisk out any lumps.

  3. When the oven reaches the desired temp, remove the cast iron and put the butter directly into the skillet. Return the skillet to the oven to allow the butter to melt, but not burn.

  4. When the butter has melted, remove the skillet from the oven and pour the batter directly into the skill. Do not mix.

  5. Sprinkle the blueberries evenly over the batter. Again, do not mix.

  6. Return to the over for 20 minutes.

  7. Turn off the oven but leave the skillet in there for another 5 minutes.

  8. Remove the Dutch Baby from the oven, lightly sprinkle with powdered sugar and serve!

July 28, 2020 /Errynne Bell
Berries
Breakfast
Comment
20200510_230516336_iOS (4).jpg

Summer Berry Pie

May 10, 2020 by Errynne Bell in Dessert

Prep Time: 20 min

Cooking Time: 45 min

Serving Size: 1 - 9” pie

I love fresh summer berries. So juicy and so much flavor! This is a basic berry pie recipe, with a little bit of my own twist, that will be sure to be the highlight of any summer party!

The Filling

I have made many different berry pie recipes over the years; this is a combination of many. I add a lot of corn starch because I really like a jammy consistency. Use less if you don’t want it as jammy.

You could also use frozen berries if you don’t have fresh berries, but fresh is always better.

The Crust

You can certainly spend time making a crust from scratch, and I have done that. I have also found the frozen, pre-made pie crust to be just as good and much easier. Be sure to take the crust out of the freezer several hours before you make the pie to allow it to come to room temperature. Check the box for recommendations on defrosting.

Even though the frozen crust usually says 9”, I have found that they’re often too small to actually use for a 9” pie, so I use a rolling pin to roll the crust out a bit so it covers more surface area.

Special Equipment

9” Glass Pie Plate

Rolling Pin

A Microplane/Zester

Silicone Pastry Brush

Ingredients

  • 32 oz Blueberries

  • 32 oz Blackberries

  • 1 Cup Granulated Sugar, Plus Extra

  • 1/2 Orange, Juiced

  • 6 Tbsp Corn Starch

  • 1 Tbsp Vanilla Extract

  • 1 Tbsp Cinnamon

  • 1 Tsp Freshly Grated Whole Nutmeg

  • 2 Tbsp Butter

  • 2 - 9” Frozen Pie Crusts

  • 1 Egg

How To

  1. Add the blueberries, blackberries, sugar, and orange juice to a pot and heat on medium high heat. Cook until the berries start to break down and the sugar has completely dissolved, about 10 to 15 min. Keep an eye on it, stirring occasionally, so that it doesn’t burn.

  2. Turn down the heat to medium low. In a separate bowl, mix the corn starch and 1 cup of the berry juice. Whisk until smooth. Add the corn starch slurry to the pot of berries and stir to combine. Let the mixture cook for another 2 to 3 minutes.

  3. Remove the berry mixture from the heat. At this point you should have a relatively jammy consistency. If it’s not jammy enough for your liking, add more corn starch. Add the vanilla extract, cinnamon, and butter. Use the microplane to grate in the fresh nutmeg. (Ground nutmeg is fine as well if that’s all you have.) Stir to combine thoroughly and let cool.

  4. Heat the oven to 350° F.

  5. Roll out the crust so that it will cover the entire bottom and sides of the pie pan. Place the crust directly into the pie pan. There is enough butter in the crust that you don’t need to add additional grease to the pan.

  6. Place the cooled filling into the pie crust. Be careful not to overfill, you may have extra.

  7. Cover the pie with the second crust and crimp the edges with your fingers to secure the filling inside the pie. You can go as fancy or as basic as you wish.

  8. Whisk the egg with about 1 tbsp. of water. Use the silicone pastry brush to brush the egg wash over the top of the pie, you will have extra. The egg wash gives the pie crust a nice crust and sheen.

  9. Sprinkle the top of the pie with a light dusting sugar and cut vent holes. I typically cut 4, 2 inch slits starting about 1 inch from the center of the pie and angled out towards the edge of the crust.

  10. Place the pie pan on a cookie sheet to catch any of the filling that might spill over during the bake. Bake for 45 minutes on a rack placed in the center of the over. Check about halfway through to make sure the crust edges aren’t burning. If they are, cover the edges with foil to prevent further browning.

  11. Let the pie cool completely before serving. Enjoy!

Serving Suggestions

Of course there is nothing better than vanilla ice cream with pie! Quality matters, we love Tillamook Vanilla Bean, which can be found in many grocery stores these days.

May 10, 2020 /Errynne Bell
Berries, Ice Cream
Dessert
1 Comment

Powered by Squarespace